DIY: Synthetic Turf Installation
Installing synthetic turf is a game-changing decision for homeowners, offering a low-maintenance, eco-friendly alternative to traditional grass. With its durable fibers and advanced drainage systems, synthetic turf mimics the look and feel of natural grass, minus the hassle of constant watering, mowing, and fertilising. From backyard playgrounds to sports stadiums, synthetic turf has become a popular choice for those seeking a reliable and versatile playing surface that can withstand heavy use and harsh weather conditions. Whether you’re a busy parent seeking a safe and fun space for your kids or a coach looking for a consistent playing field, synthetic turf installation is an investment that’s sure to pay off in the long run.
See below our Guide to installing your Artificial Grass yourself:
1. Clear existing area
To prepare for your new turf, it is important to thoroughly remove any weeds and old grass from the area to ensure a clean and even surface for the new turf to establish properly. This can be done through methods such as manually pulling weeds, using herbicides for weeds and existing grass.
We do recommend completing two sprays prior to install to ensure no existing weeds/grass will grow through your new turf. It is crucial to properly prepare the base before laying the artificial grass to prevent issues such as uneven turf or weed growth in the future.
If you are installing your artificial grass onto a concrete slab, we recommend you to use a high pressure washer or gurney to clean the slab prior to installation.
2. Prepare base
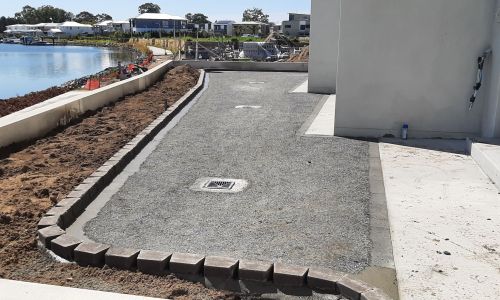
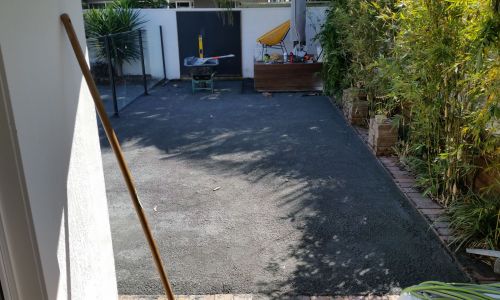
To prepare a base prior to synthetic turf installation, it’s essential to create a stable, compacted, and level surface. Then, mark the boundaries of the installation area using stakes and string. Next, remove 50-80mm of topsoil and any existing grass or debris to expose the underlying subgrade. Compact the subgrade using a plate compactor or roller to eliminate any air pockets and ensure a solid foundation.
Finally, spread evenly a layer of compacted aggregate material (i.e crusher dust) to create a stable base for the synthetic turf. Use a hose to dampen your base and use a plate compactor to compact the crusher dust into a hard base. You can hire a plate compactor from Kennards Hire.
3. Synthetic Turf Installation
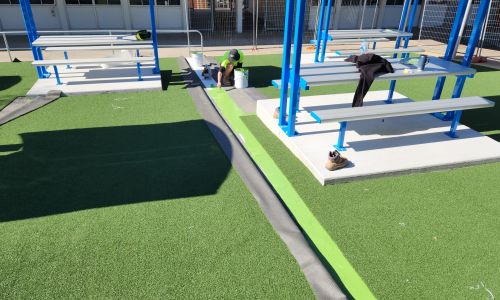
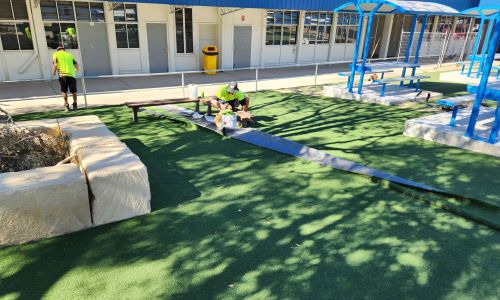
To cut and install synthetic turf, start by measuring the area to be covered and marking it with stakes and string. Roll out the turf, aligning it with the marks, and ensure that all the areas are covered as required before securing to the ground. Use a turf cutter or a utility knife to trim the turf to size, following the manufacturer’s instructions. Next, fold the turf back and apply a layer of adhesive to the underlayment, then roll it back into place. For joins between two adjacent rolls, use a seaming tape and adhesive to secure. (Picture below)
If you are using pins instead of adhesive, place the turf pins along the edges of the turf, spacing them about 6-8 inches apart. Then, use a hammer or mallet to drive the pins into the ground, making sure they’re securely fastened.
4. Sanding
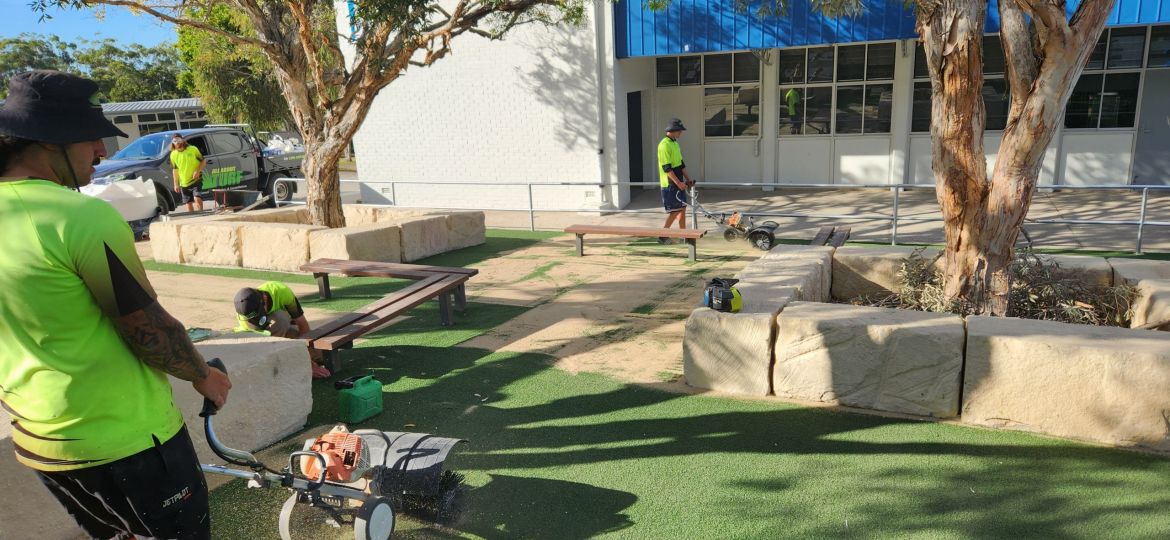
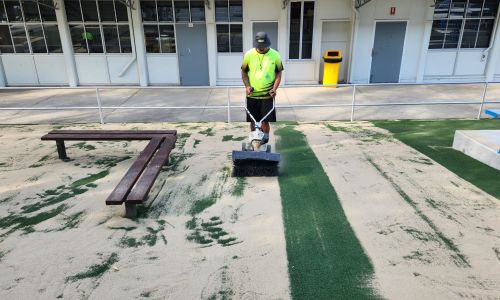
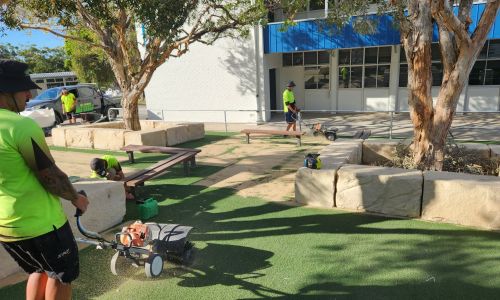
Sanding synthetic turf is a process of infilling the artificial grass fibers with sand or rubber particles to improve the playing characteristics and durability of the surface. To sand synthetic turf, start by cleaning the surface thoroughly to remove any debris or dirt. Next, use a spreader to evenly distribute the sand or rubber particles across the surface, working in sections to avoid missing any spots.
Use a hard bristle broom or power broom to gently work the sand into the fibers, making sure to get it deep enough to fill the root zone of the turf. Finally, use a blower or leaf blower to remove any excess sand or debris and ensure an even distribution. It’s recommended to sand synthetic turf every year, depending on usage and weather conditions.
Sanding is a requirement of many manufacturers to ensure you receive your warranty. Ensure you ask when purchasing your grass, what infill rate is required to guarantee your new turf is covered.
Check out our blogs below for more information:


